Build And Run
Build And Run
Prerequisites
- Install Massive Loop SDK in your Unity Editor
- Create a world reference on our website
Overview
In order to locally build and run your world there are a few things you will have to do in order to successfully do so. First, you will need to install our Massive Loop SDK into your Unity Editor, and then have created a world on our website.
Once you have completed both of those prerequisites, you will be able to locally test your world before uploading it to Massive Loop. This feature comes especially in handy for world and server creators alike, giving you the opportunity to test custom script mechanics and the general feel of your world before sending it out.
If you have not set up a Massive Loop world before and are starting from an empty project, you can follow the first three steps at this page to get started! It will take you through the initial steps of setting up a spawn location, and adding a WorldDescriptor.
Setting Up
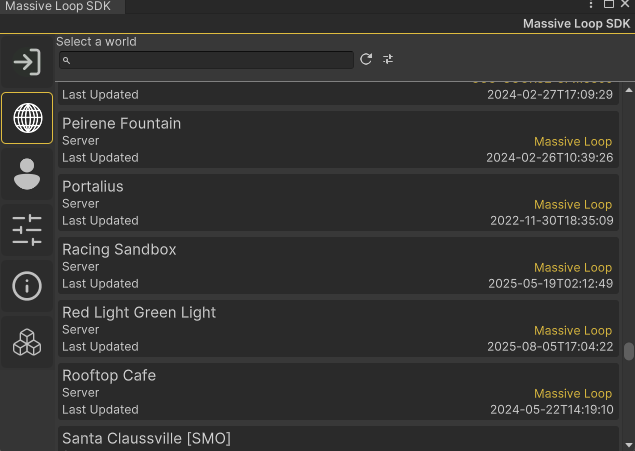
After you have created your world on our website, you can select it from the world browser inside of our SDK menu in your Unity Editor. You can do so by clicking on the world that matches your current Unity scene, the scene you intend to test locally.
Note
If you are unable to find our Massive Loop SDK window in your Unity Editor, click the Massive Loop menu item on your Unity Editor toolbar, and click on control panel. This will open the Massive Loop SDK.

Once you have selected a world reference, our SDK will ask you if you would like to associate your current active scene with your Massive Loop world. This will make it easy to switch between worlds and their respective scenes, should you choose to have multiple worlds share the same Unity project. Click on "Associate this Scene" to continue.

Before we try to build and run, lets first make sure that there are no main cameras currently active in your scene. Then, ensure that you have a spawn location and a world descriptor.
Warning
Remove the default Camera from your Unity scene.
When building a world, you should avoid adding any cameras to your scenes. This will cause render and audio conflicts with players which will be instantiated to your world on run time.
However, it's acceptable to use cameras that render to a Render Texture to create screens, but be sure that these cameras don't have an AudioListener component so it doesn't conflict with Massive Loop cameras.
Right Click on Main Camera and click Delete.
Build and Run Settings
Our local build and run feature has a couple settings that will help you test your environment the way you want!
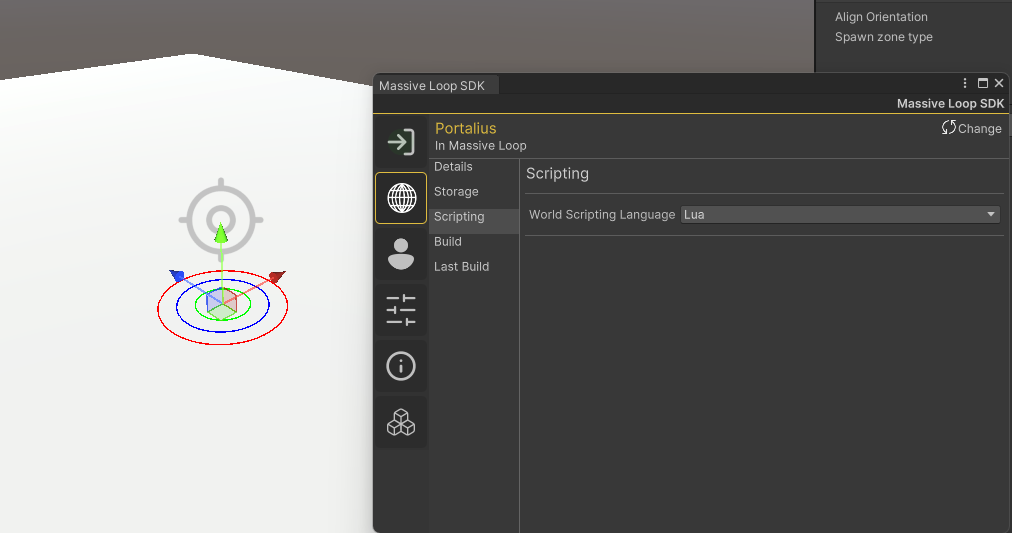
Scripting Language
The first setting we will cover is the scripting setting. After you have selected your world and associated the scene with it, you have the option of selecting which scripting language you would like to test. You can access this menu by pressing on the "Scripting" button on the left menu. You can choose between LUA and C#.
Note
While you are able to choose LUA, it is important to note that LUA is now deprecated and won't be receiving further updates. We heavily recommend that you instead utilize C#. You should not mix the two scripting languages. As this can cause possible conflicts when your world compiles.
VR Mode Settings
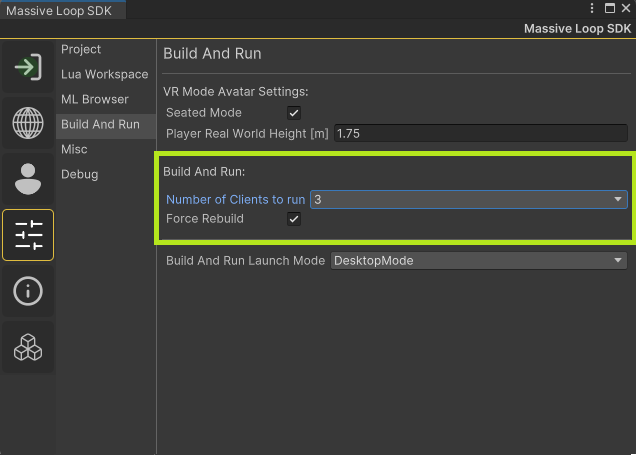
To access further local build and run settings you can navigate to the settings menu by pressing on the settings menu icon, the forth button down from the side menu of our SDK.
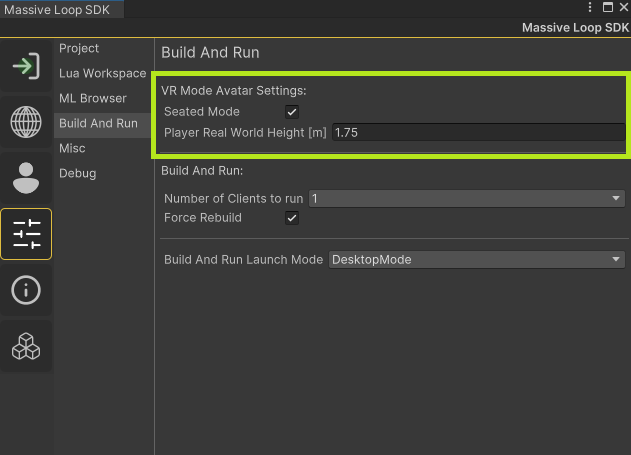
From here you can choose whether or not you would like to test it in VR, or in desktop mode. Whether or not you would like to test it in seated mode in VR, and set your VR height.
Desktop Mode Settings
With desktop mode, you can choose to test your environment with up to 3 local clients. Each client will connect to your world locally and simulate a multiplayer experience. This feature can come in handy, especially when you want to test out the multiplayer synchronization of your custom scripting!
Warning
Do be careful when running multiple clients, and be mindful of your current computer's specifications. Some environments can be more graphically taxing than others, especially with real-time lights and shadows.
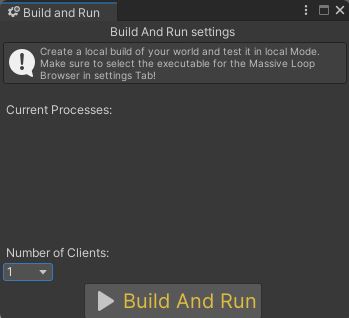
Building and Running
Once you are ready to test your world, you can do so by clicking on the world icon and click "build". From here, you can also distinguish how many clients you would like to test with.
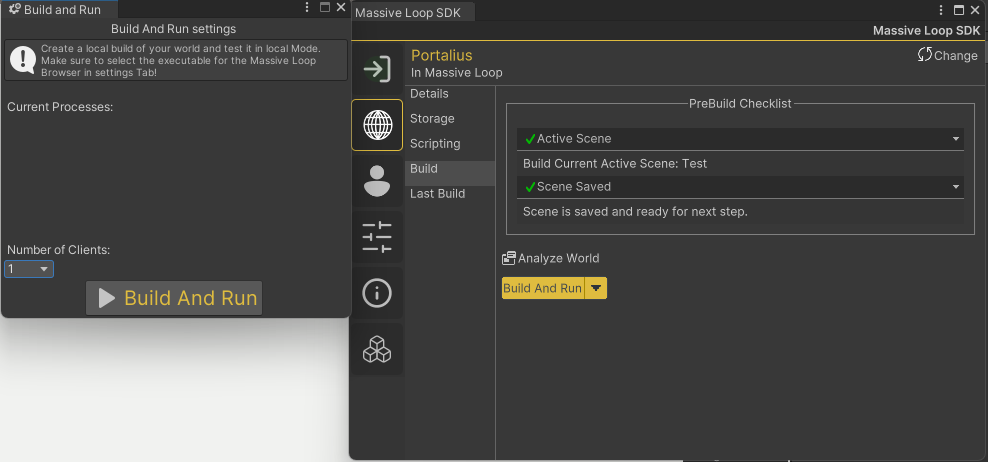
Click on the big build and run button and test your world!